- Docs
- SendHQ
- News Items
- News Items
News Items
Everything you need to know about adding a News Item.

Choose whether the News Item is to be published in a newsletter, on the website (json file) or in a news feed (json file). You can select up to 3 different feeds.

Move the issues you want your News Item to appear in from the left column to the right. Only upcoming issues will be listed.

Choose the Newsletter section for your item to display in. These can be customised and ordered in 'Settings'.

Give your story a title.

Bio Images are setup in 'Settings' and when selected, will display an author image and title to the right of the story. Bio images are usually setup for main contributors like the Principal, Chaplain, Head of Wellbeing etc.

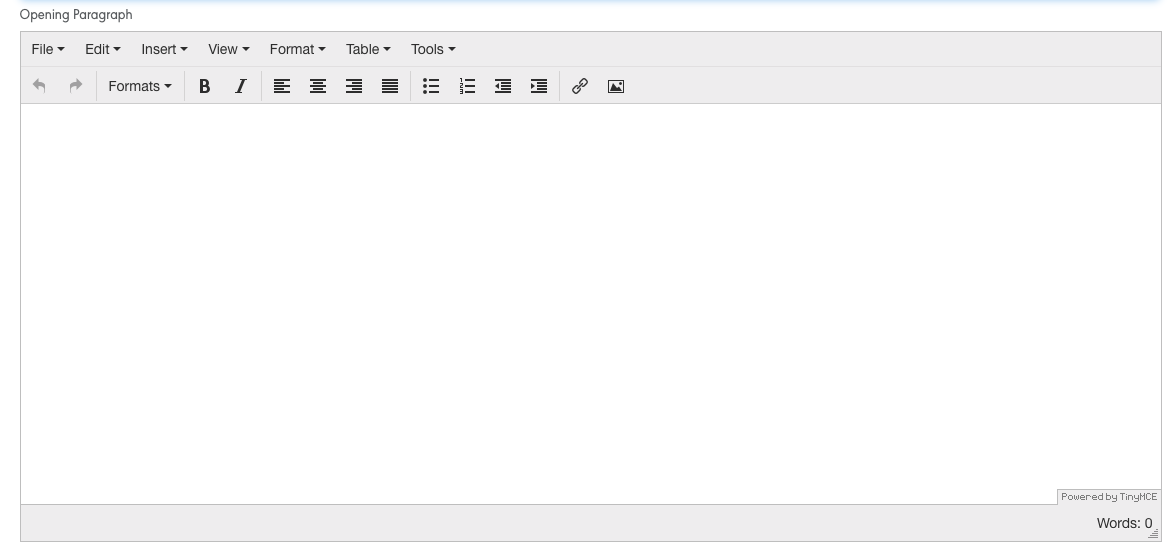
The start of your news item should be written in this text editor. If you do not want a 'Read more' to appear on the story, add your full story into this section. If you text has inherited funny styles after copying and pasting, select all the text and use Format > Clear Formatting to remove any unwanted markup.

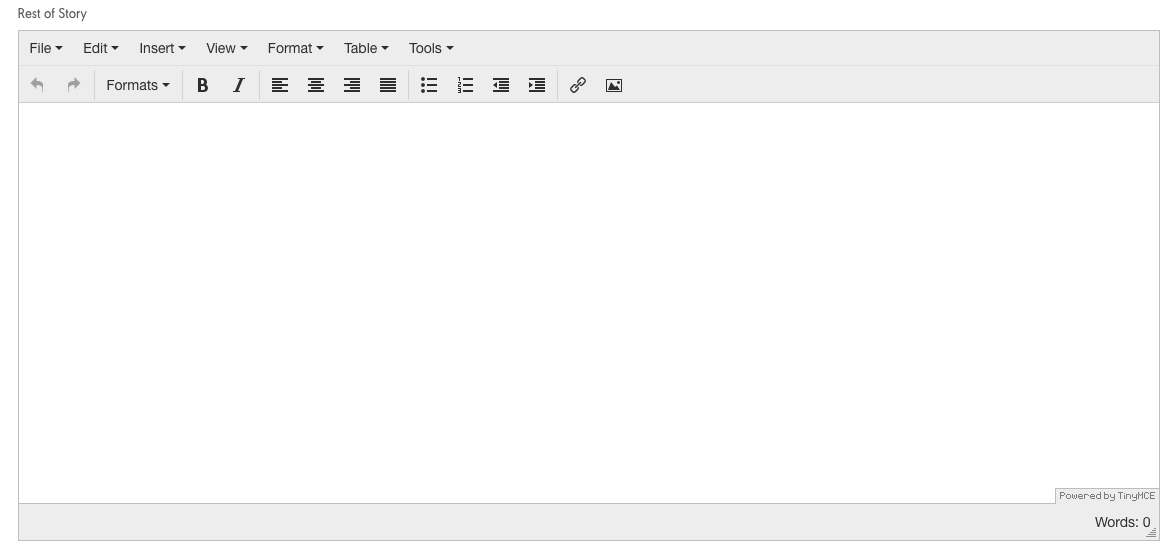
Use this Editor for text that you want to show after a 'Read More' button is selected. This allows you to create abstracts for your news items. When appearing on website or news feeds, both the 'Opening Parragraph' and 'Rest of Story' containers are combined to create the main full story.

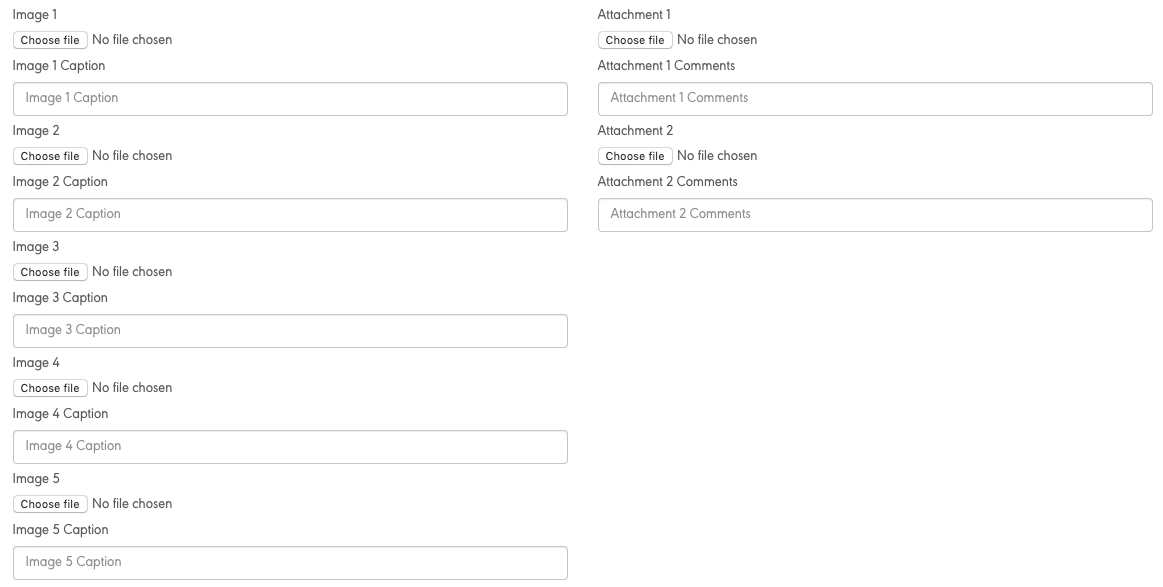
You can add up to 10 images and 2 attachments per story. If more than 1 image is added, images 2-10 will be made into an automatic photo gallery. To embed photos or attachments into the text editor boxes above, first 'Save and Continue Editing' to upload the documents against the story and create links. Then, right click the link to copy and paste as an image or link using the Insert Image or Insert Link editor toolbar buttons. Set image widths to 100% and height to blank to make the images respond to the page. Our recommendation is to use the image and photo galleries that are built into Send HQ and now embed photos in the body text.

Comments are 'internal use only' and useful for authors to write to publishers. (eg Please check we have permission to use photo A)

This dropdown is for authors to let publishers know what stage their news item is at. Options are Draft, Submitted or Cancelled.

Story ordering allows you to order stories within each section. 1 = Position 1, 2 = Position 2 etc

Gallery Location allows you to set the location above or below the Read More. You can also turn off the gallery. The gallery style is set by your designer in settings.

Main image allows you to choose between image 1-10 as your hero image for the story. If you don't choose an image, no image will show.

Main image can be wrapped around the text on the left or right. The default is left.

The slug is the public url for the news item.

Is Actioned is a flag for you to check once you have proofed the news item - to remind yourself that is has been checked. Hide Author details can be used to show / hide author details if setup in your template. Featured article is a flag to determine how to display the article in the website or newsfeed. (eg some display featured articles on the homepage of their website).

Release date is the date to either timestamp a story or set a date for an upcoming event.

Classifications are used to help correctly display content on your website or news feed. (eg you may have a 'Latest News' classification and an 'Upcoming Events' classification, which will send the relevant stories to their respective pages on your site)

Don't forget to save each item.